Review the Guidelines
Before you get started, we recommend that you review our information about Choosing a Domain Name.
The Sign-Up Process
Once you’ve reviewed the guidelines, you can proceed to the sign-up page.
- Click the “Create” button

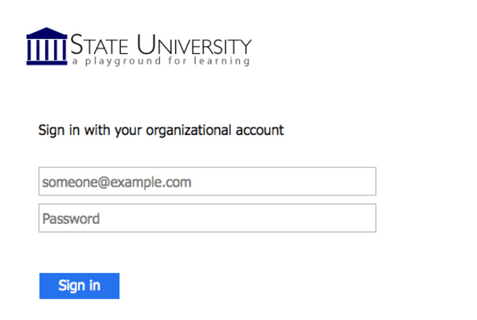
- You will be redirected to log in for verification. You will use your Brown username and password to log in.
- You are now ready to create a domain. To start, you must first sign up for a free subdomain (i.e., yoursite.digitalscholarship.brown.edu). Directions for purchasing a top-level domain (i.e. yourdomain.com) will be provided further down.

Option 1: Free Subdomain (Recommended)
For no cost, you can create a subdomain of digitalscholarship.brown.edu. This is the recommended way to proceed.
To create a free subdomain of digitalscholarship.brown.edu, leave this default option selected and enter the subdomain name you have chosen for your web presence. When you’ve found an available subdomain, click the Continue button. For example, if you choose “yourdomain” as your subdomain, your full domain would be yourdomain.digitalscholarship.brown.edu.

Confirm that you like the name you selected. If you do, click the Sign Up button. (If not, click the Start Over button, and repeat the above step.)
 You should now see a screen confirming that your subdomain is ready. After a few seconds, you will see the regular cPanel options.

Option 2: Buy a Top-Level Domain from Reclaim Hosting
It is easy to create your own top-level domain (a .com, .net or .org address). This allows you to select a URL for your website that is easy to remember and share.
While you are at Brown University, this is available for a nominal cost (currently $15/year). You can continue to use this domain after leaving Brown, although the cost may increase.
To register a top-level domain, log into your newly created cPanel, navigate to the Domains section, and click Register Top-Level Domain.
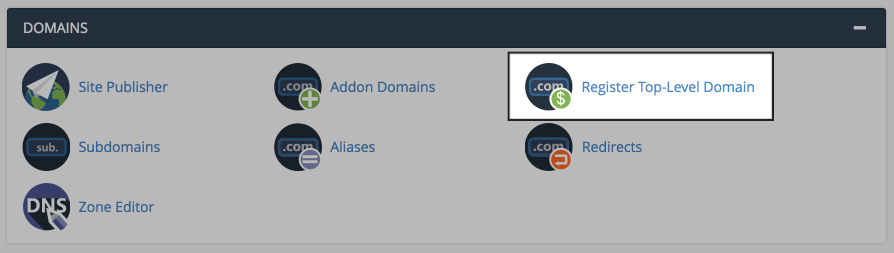
This panel offers a step-by-step guide to registering and adding a new top-level domain to your cPanel account.
Option 3: Connect an Existing Domain to Your cPanel
If you already have an existing domain that you’ve previously registered elsewhere, simply point your domain’s nameservers to ns1.reclaimhosting.com and ns2.reclaimhosting.com.